Content may contain affiliate links. When you shop the links, I receive a small commission at no cost to you. Thank you for supporting my small business.
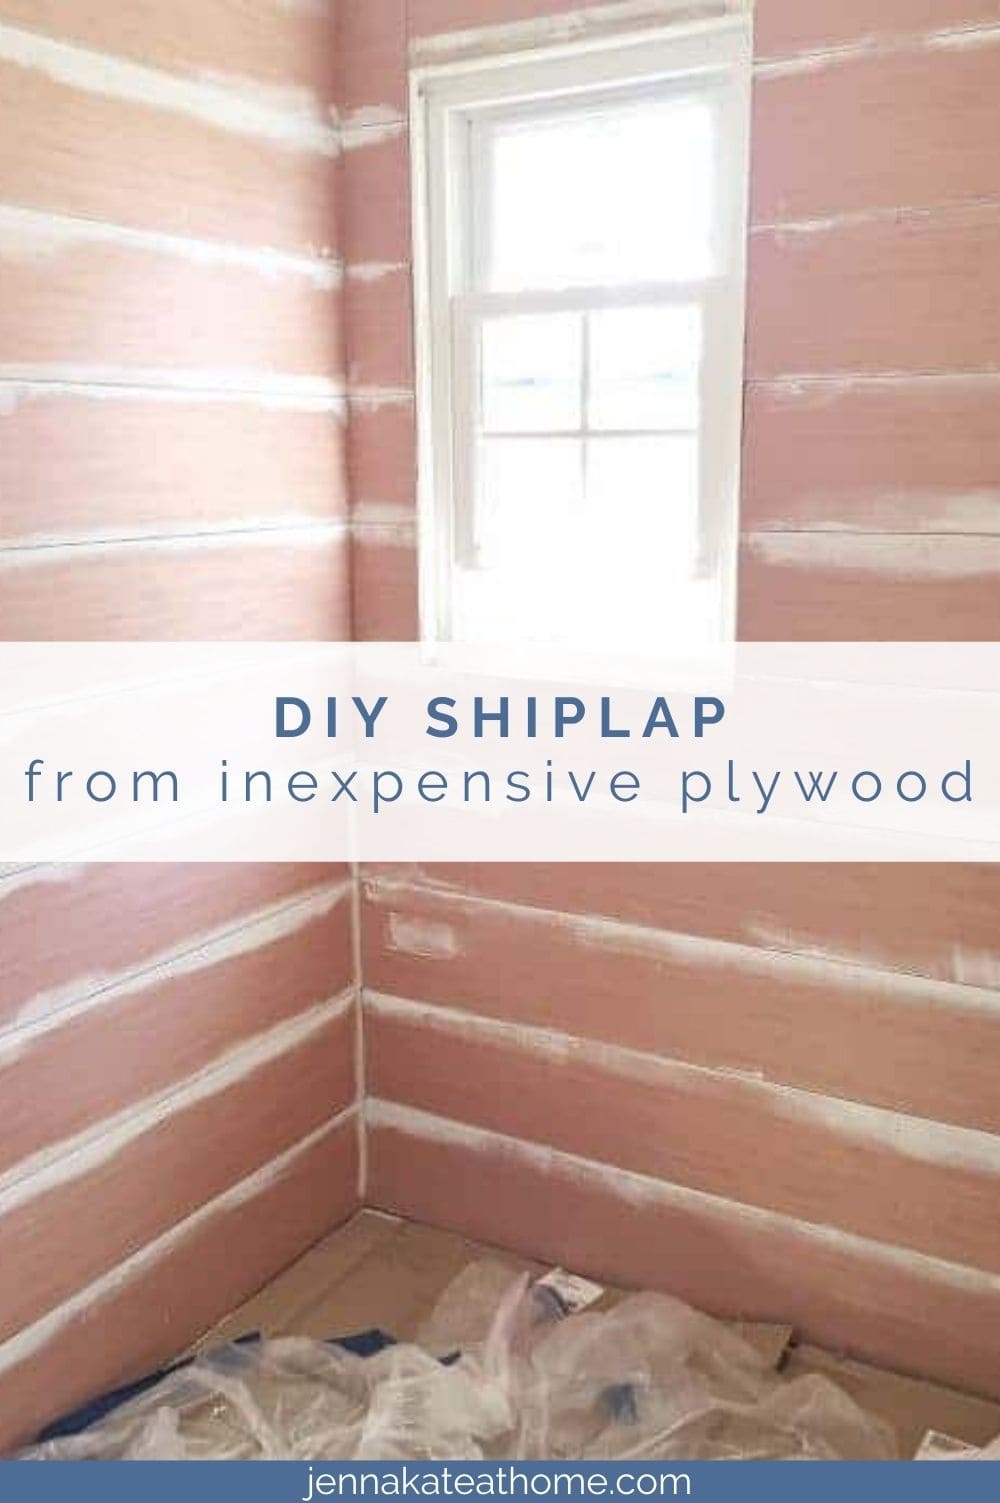

Adding shiplap walls to your home is easier and cheaper than you may think. And you’ll happy to know that you don’t need real shiplap – that stuff is pricey and labor intensive! This tutorial will teach you how to use simple plywood to get the shiplap effect for a fraction of the cost.
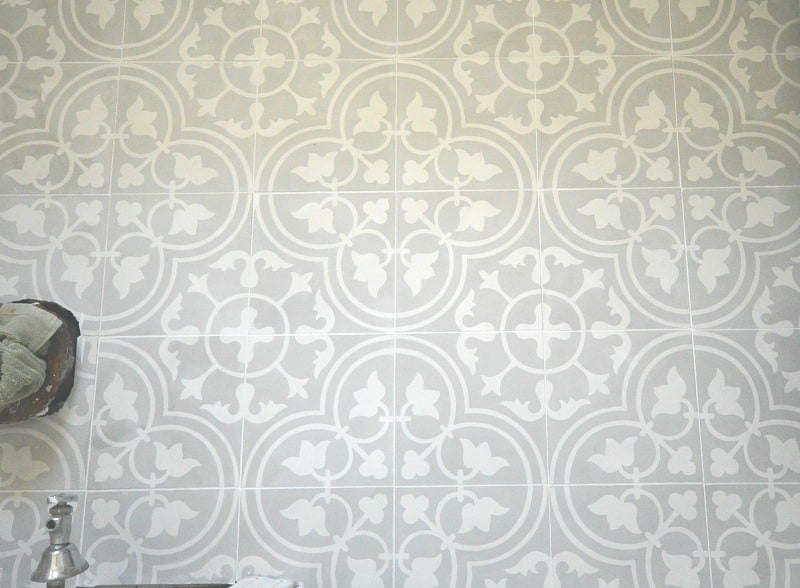
It seemed like just yesterday we spent a grueling week figuring out how to seal cement tile in our powder room but the results were awe-inspiring! So much that we were all fired-up for the next phase of our improvement – upgrading the ugly walls.
Since we installed, grouted and sealed the beautiful cement tile, my husband and I could not agree on what kind of walls would offset this gorgeous tile pattern.
When I first started this powder room project, many of my inspiration pictures featured either plank ship lap walls, plank walls or beadboard.
My husband, Brian, was not convinced. He remained skeptical about the shiplap look that I desperately wanted, preferring instead a simple and classic half-wall beadboard.
Blah! While I love it looks, we’ve already installed beadboard in our master bathroom.
In the end, he finally came around to my way of thinking. As he usually does!
What is Shiplap Anyway?
Shiplap is a type of wooden board commonly used as exterior siding in the construction of residences, barns, sheds, etc.
Nowadays, shiplap is a popular interior design choice. The wood paneling is hung horizontally, sometimes vertically, with gaps between the planks that add to its unique look. You may also hear people also refer to is as plank walls or tongue and groove walls.
Shiplap Walls: What To Buy
After doing a ton of research, I realized that there are many different ways to achieve the shiplap look. For us, it came down to three options: tongue & groove shiplap boards (which we used in our sons’ big boy bedroom makeover), MDF boards or luan plywood. I’ve seen all of these materials used in rooms with amazing results.
Ultimately, easy-of-installation and the lower price point won out – we chose the plywood. The cost of purchasing drywall and hiring labor to correctly tape and mud would be too significant.
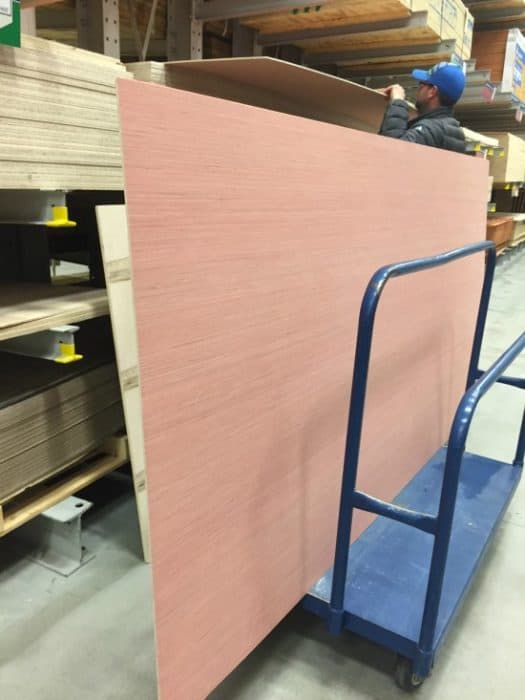
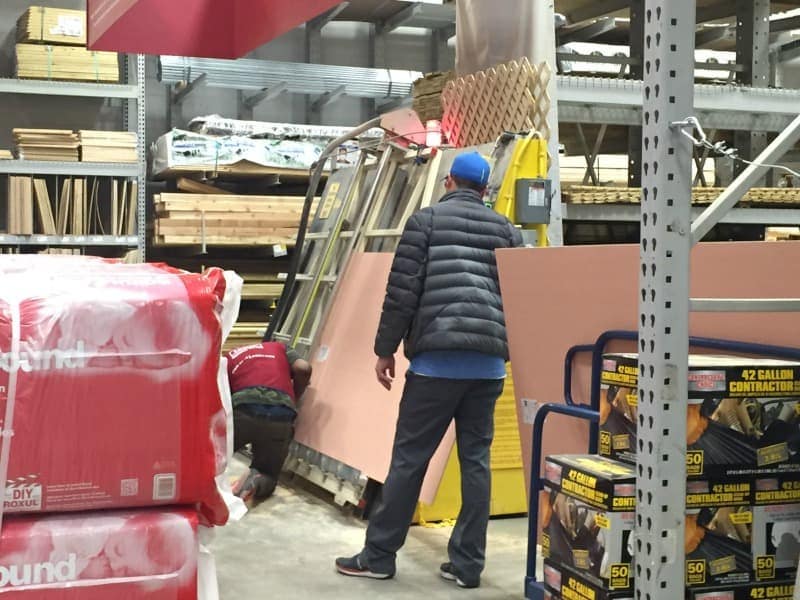
These large sheets of plywood from Lowe’s come in at the low-low price of $13 per sheet. AND they ripped them down for free. All 8 sheets of them. We opted for the smoothest and thinnest sheet we could find, just one-quarter inch thick and relatively smooth.
We gave the guy a generous tip because it probably was more than they usually cut for free!
Since our bathroom is tiny, I decided to go with an 8 inch wide plank, with the idea that less horizontal lines would be a good thing in a small space.
That’s the wonderful thing about installing plywood shiplap walls – you can customize to the exact look you want!
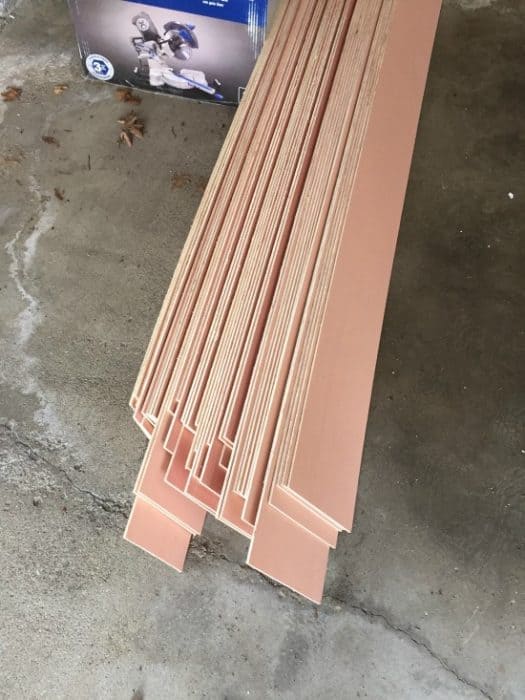
Once we got home, I sanded every single one of those boards by hand, since my electric sander decided to die at the precise moment I needed to use it. The job was painless though. No jagged boards allowed!
Shiplap Walls: Installation
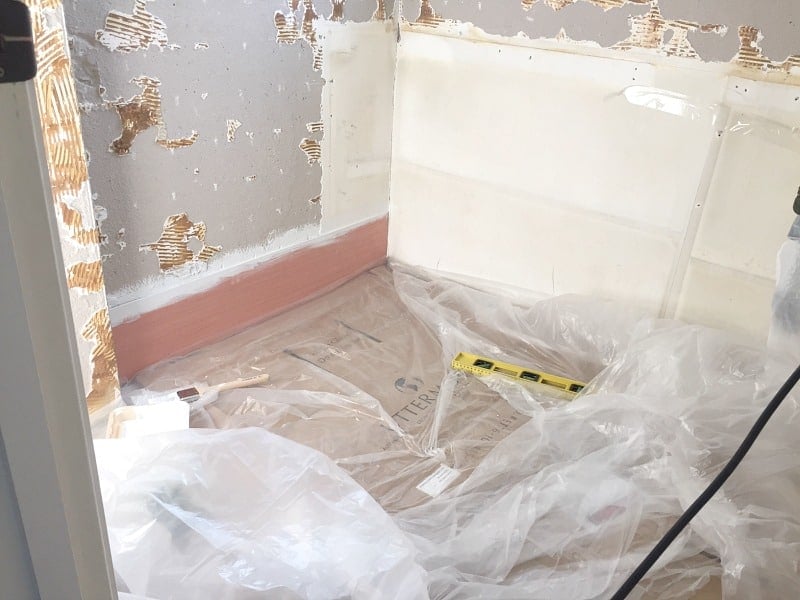
Prep Your Room
Shiplap will fit nicely over imperfect drywall and wallpaper but if you have tiles, remove them first. You can also apply over plaster walls but in that case, I would recommend a frustration-free product like Liquid Nails.
For our project, we were installing the shiplap in a room with a sink and toilet – no shower or bathtub. Shiplap works best in properly-ventilated rooms.
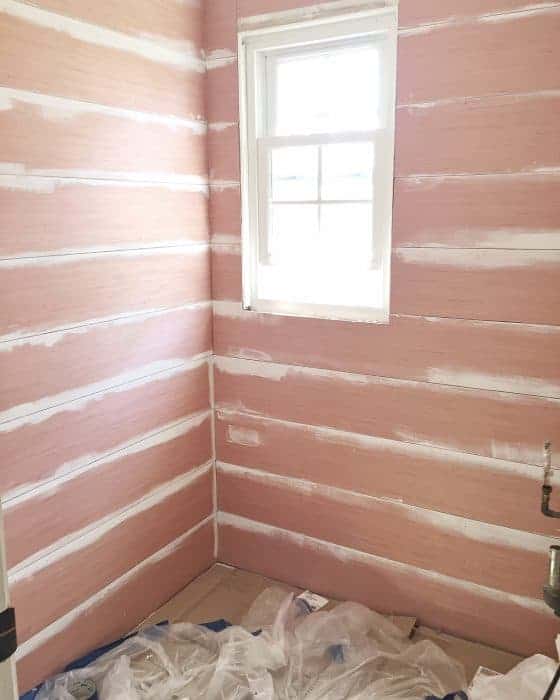
The first step to saying goodbye to the old look is to give the room a nice coat of paint. I painted both the wall and the edges of the boards (as I installed each one) with the same color so that the gaps were the same color as the boards. You don’t need a special outdoor paint – simple bathroom paint will work.
Acclimate and Cut The Planks
You may want to leave the planks in the room for a few days to get them acclimated to their new home. Wood that’s not acclimated to the humidity of your home can warp.
Once we were ready to begin installing, we measured each wall and cut the first pieces of wood to the correct length.
A regular hand saw will work for this task, but we used a compound sliding miter saw to give cleaner cuts, in a fraction of the time. We also used our jig saw to cut out a few funky areas, like around the toilet pipe and around outlets.
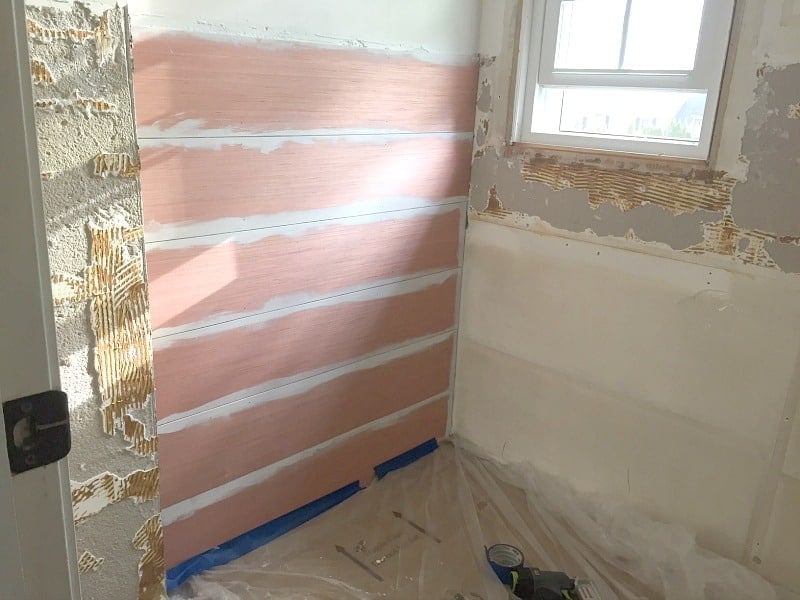
Get The First Board Level
Start with the first cut board and install at the bottom of the wall.
I can’t stress enough just how important it is to make sure your first board is absolutely level. If you start off crooked, your lines will be all off. And that’s not a look you want for perfect shiplap walls!
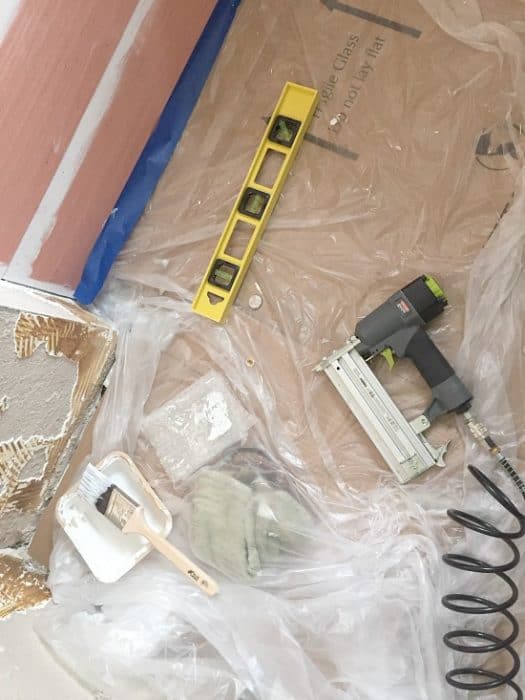
Use The Right Tools
The easiest and quickest way to get the boards up on the wall is to purchase a nail gun. Sure, you can go the hammer and nails route but it will take you 10 times as long. Our nail gun uses brad nails that produce tiny little holes that are easily covered. Plus, it’s fun to use!
Use Pennies or Nickels as Spacers
Use pennies or nickels as spacers, to achieve the gap you need between boards. We used nickels – one on each side and one in the middle – then nailed the board in place. We nailed into the studs where possible (that we had first marked with a stud finder). You don’t absolutely have to do, especially since this plywood is so light, but it’s always a good idea to catch a stud if it’s possible.
As you go to add your second board, make sure to measure your wall again. You’re going to want a saw to cut the boards to the correct length each time you get to the next level. It’s rare that walls are perfectly straight. Ours certainly were not.
And again, check that the board is level and paint the gaps as you go.
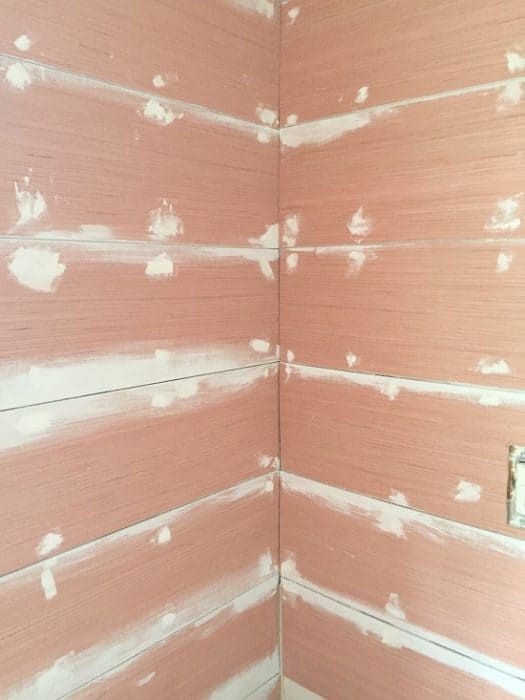
Fill The Nail Holes
It took Brian about 8 hours in total to get all the boards up. Then I got to work filling all the little tiny nail holes. I just used regular spackle and a putty knife.
The Finishing Touches to our Shiplap Walls
The next day I sanded everything until it was beautiful and smooth. Oh, and I did it all by hand. Because my electric sander was still broken.
I sanded some boards. I sanded down my finger nails. Not a fun day!
It was all worth it once I got the first coat of paint on, though :-)
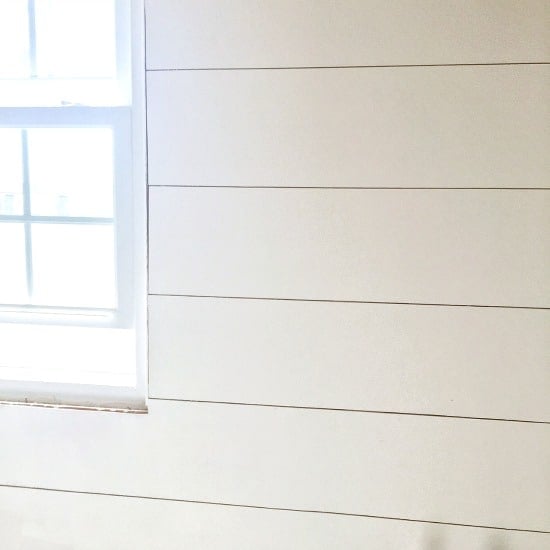
Prime, Then Paint
We primed with 2 coats of primer first before applying the paint with a roller.
I chose to use a flat sheen of paint, Kelly Moore’s “Swiss Coffee” color matched to Behr’s paint. I chose the flat sheen to minimize any imperfections in the plywood and I really love how it’s turning out!
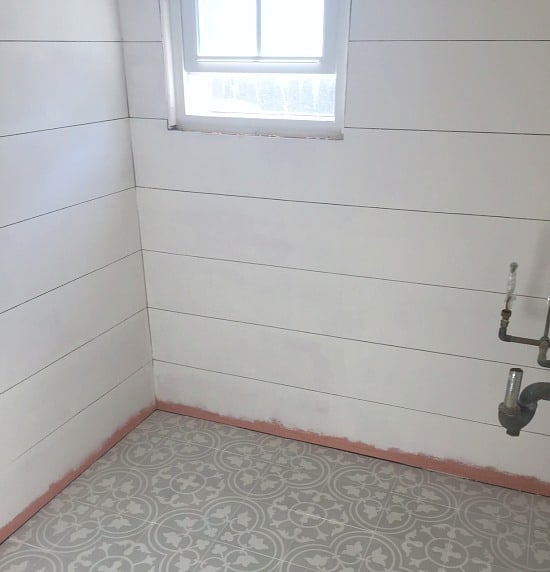
Shiplap Total Cost: $100 plus tip
Update: Are you ready to see the full powder room reveal? I’m so happy with how it turned out!

How to Install Shiplap with Plywood
Materials
- 8 sheets of ¼ inch Luan plywood
- Brad nails
- Paint
- Primer
Tools
- Electric sander or #220 sandpaper
- Nail gun
- Miter saw (or regular saw)
- Jig saw
- Spacers (pennies/nickels)
- Stud finder
- Level
- Spackle
- Putty Knife
- Paint brush or roller
- Protective covering for your floor
Instructions
- Prep the old walls by remove tiles, if necessary. Wallpaper can remain but you need to prime and paint over it.
- Coat the drywall with paint. (This is the same paint you will use for the seams of the board later).
- Purchase and cut plywood sheets into 8-inch planks.
- Sand all the wood by hand or with an electric sander. Measure the width of the wall and cut the pieces to the required length with miter or regular saw.
- Leave the wood in the room where it will be installed for at least 2-3 days to acclimate to its new environment
- Locate the studs in the wall before attaching boards to the wall.
- Start from the bottom and attach the first board, making sure that it is level. IMPORTANT: if this first board is not perfectly level, all other boards will be skewed.
- Paint each gap/seam as you attach a new board to the wall.
- Measure the wall again before you apply a new board (not all walls are perfectly straight). Adjust the width of the plank if necessary.
- Use pennies or nickels to space the boards and check the level of each new board.
- Repeat the process until all desired walls have been covered. Fill in nail holes with spackle.
- Allow to dry overnight.
- Sand all wood and remove any sand dust.
- Apply 2 coats of primer; then, apply the paint with a roller.

What did you do in your corners? Did you caulk the whole corner or just where the boards met on adjoining walls or no caulk at all??
I caulked a straight seam down the corner as well as along the top