Content may contain affiliate links. When you shop the links, I receive a small commission at no cost to you. Thank you for supporting my small business.

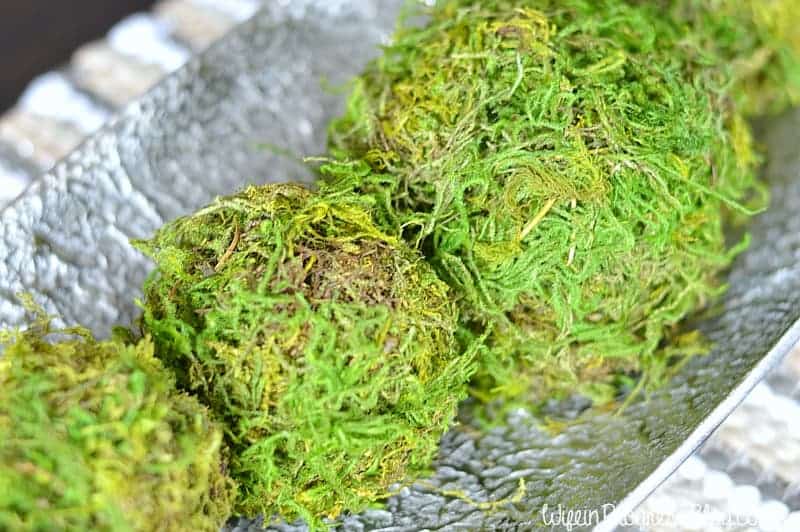
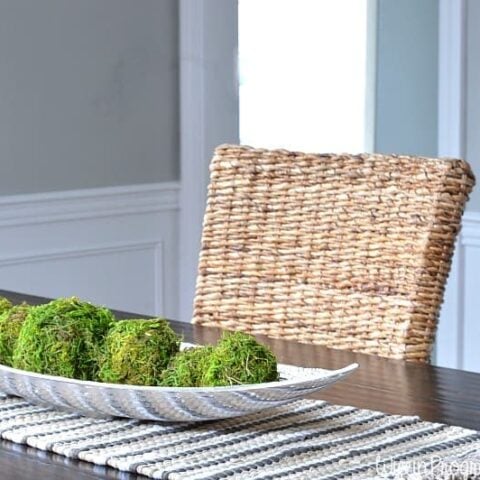
How absolutely adorable are these decorative DIY moss balls? If you’ve ever tried to purchase these premade, you know just how costly they can be. Luckily, I’ve found a very inexpensive way to turn your own cute little spherical shapes into moss balls.
Have you ever admired those extra large moss balls that resemble topiary balls often displayed outdoors? These mini versions are the perfect indoor accents!
Moss balls are the superb decorative object to incorporate into your current home decor. This natural art form matches most colors schemes and blends beautifully into modern, farmhouse, or grandmillennial style homes.
Why Moss Balls?
Green moss has such an organic texture that if your room is feeling a bit dull this is sure to liven the place up. Although these tend to be a spring time element, I think they look great year round and can easily be styled with each season.
In addition, I wanted a DIY craft that wouldn’t take up an entire day, or even more than an hour. I made these awesome moss balls in about thirty minutes! I also didn’t have to spend very much on materials which is a huge win. It truly is a very inexpensive DIY project to explore.
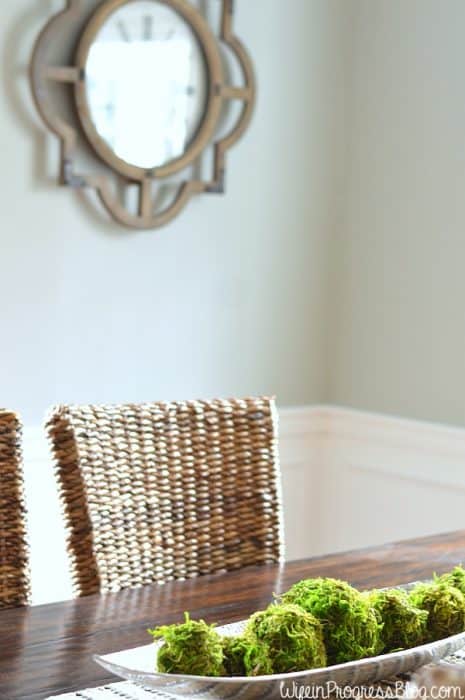
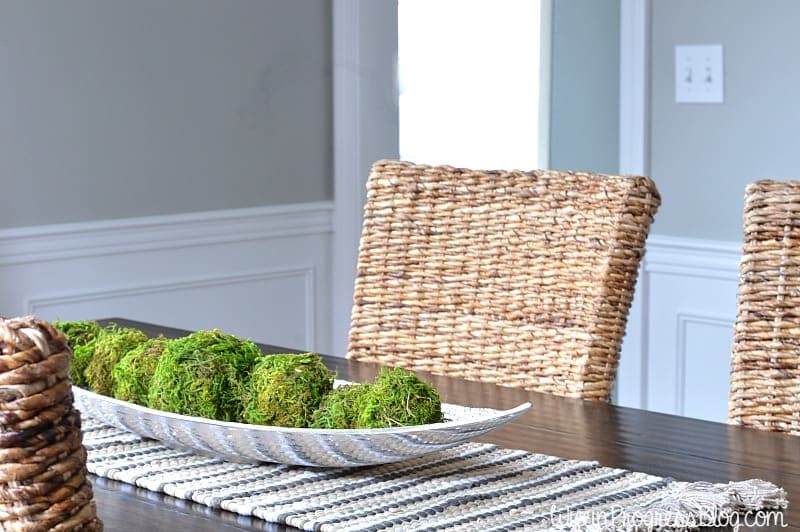
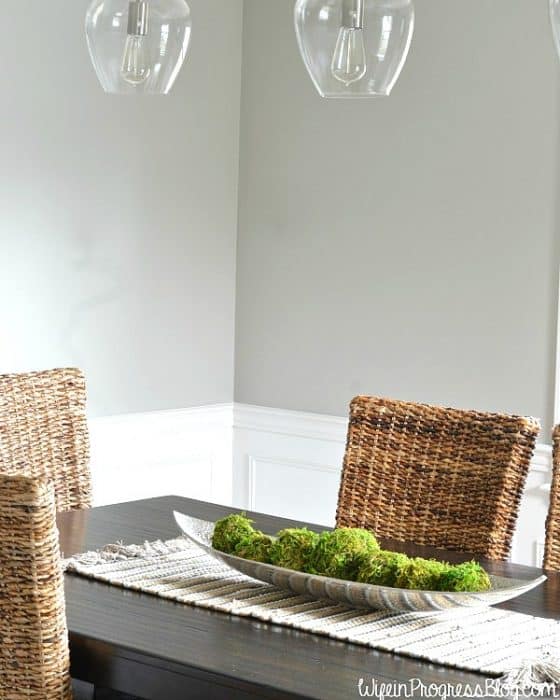
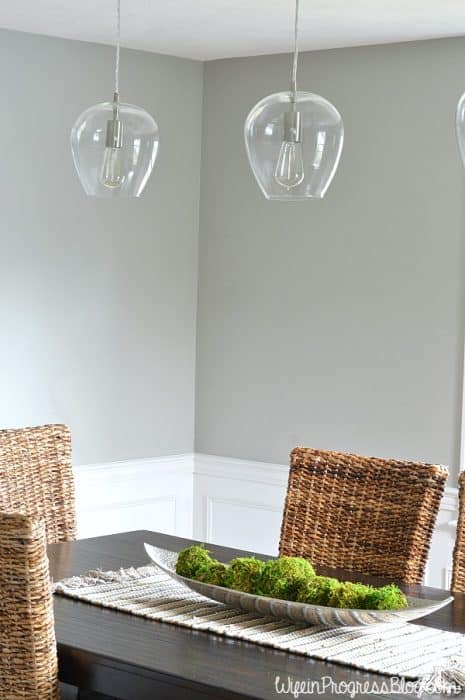
They are now happily living in my dining room and add a much needed touch of greenery.
While most tutorials use foam balls, I didn’t! You are welcome to use them though in place of rattan balls and this step-by-step should still work just fine.
Materials Needed
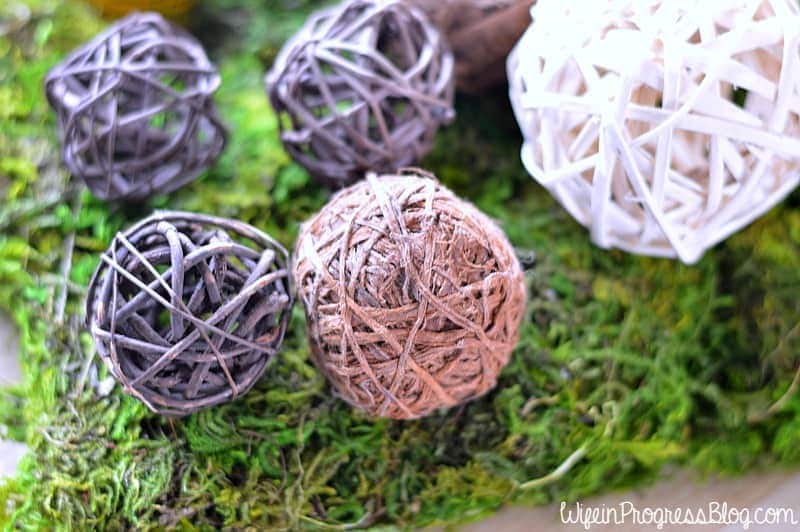
You know those rattan decorative balls from Ikea that everyone has? Well I had them too. And was frankly sick of them. I knew I needed to find a great idea for giving these new life.
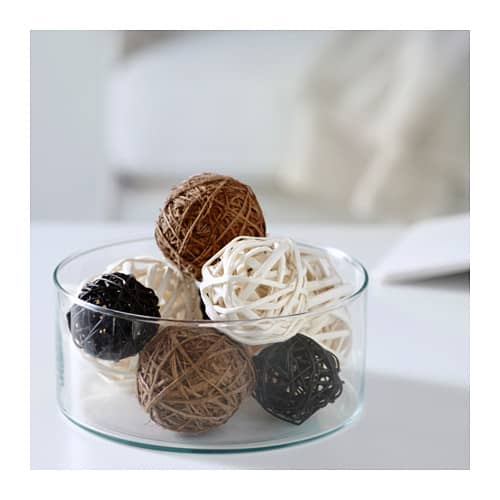
Enter, beautiful moss balls! I knew I could put them to good use and employ them as the base for these moss balls because they already have a natural color that wouldn’t need to be camouflaged. It’s also fun that they are different sizes for some added dimension.
I’d encourage you to source your home for objects with a round shape that you could use as the base for your moss balls. You might surprise yourself with what you find! If you can’t come up with anything of a sphere shape to repurpose, try shopping your local craft stores or Hobby Lobby for affordable decorative craft balls that you can use.
Here’s What You’ll Need:
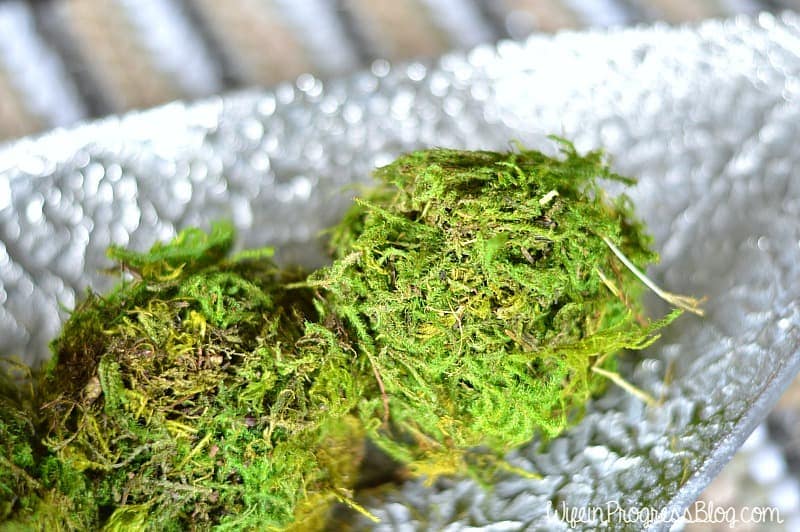
- Dried Moss (stay away from sheet moss!)
- Rattan Balls (or foam balls!)
- Mod Podge
- Paintbrush
There’s nothing worse than DIYing something that you can buy premade for much cheaper, right? In the end, my DIY moss balls cost me a whopping $7.99 for 8 (and I still have moss left!). The moss balls at Michaels cost that much A PIECE. And some in other places are triple that price.
How to Make Moss Balls
These moss balls are an easy project to whip together and should last you a long time!
One caveat – Moss is EXTREMELY messy! A good idea would be doing this outside if you possibly can. Not on your dining room table like I did. Your ball of moss will end up everywhere. Lesson learned.
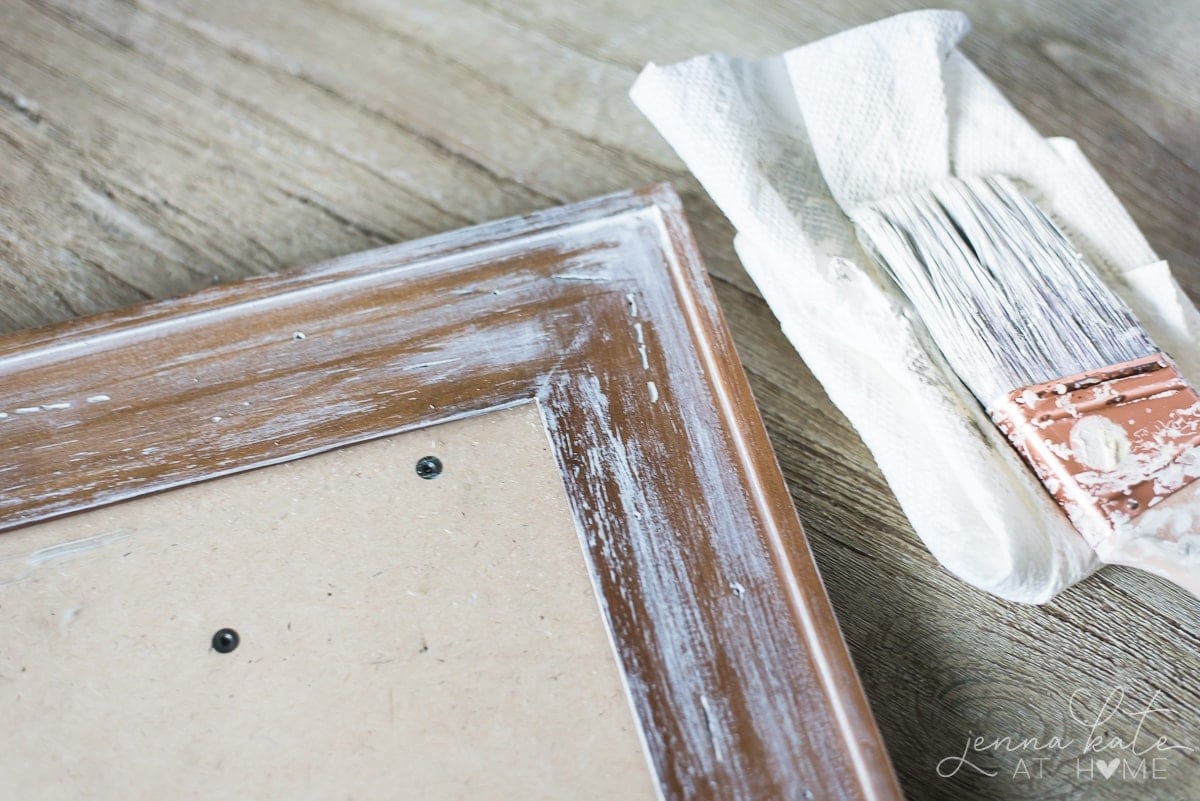
1. Brush the Ball with a Layer of Mod Podge
Don’t be afraid to get it in the nooks and crannies of the whole ball. This is what the moss will adhere to so don’t be shy in applying the mod podge. I’d also work one ball at a time as the mod podge can have a tendency to dry quickly.
2. Stretch Moss Over Ball
One small section at a time, stretch and maneuver the moss around the ball. You want to almost compress it on, like packing a snowball. Keep moving the ball round and round and compressing with your hands to apply small amounts at a time.
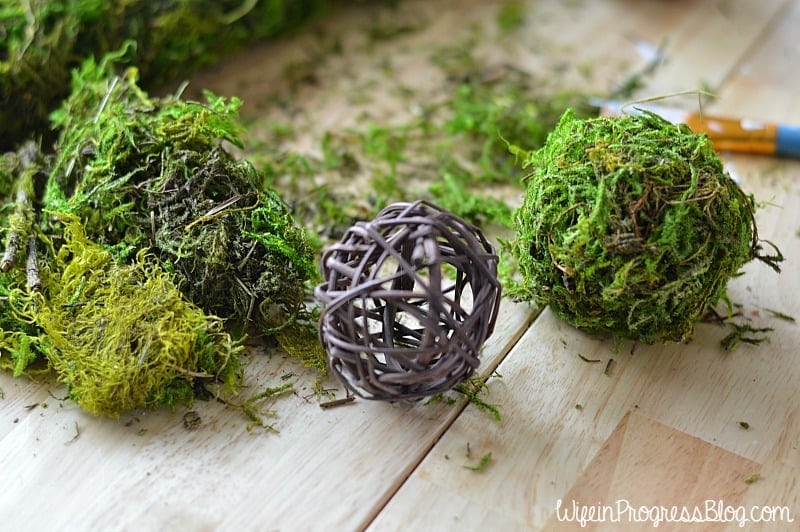
If you have any difficult spots and need to resort to a hot glue gun to attach a thin layer of moss, feel free. Depending on what type of base you are using, it may be easier or harder to get the moss securely added.
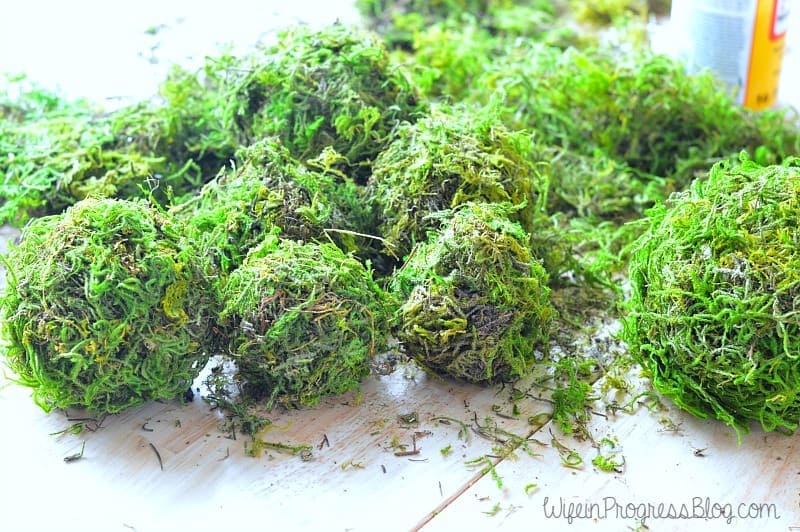
3. Add More Glue and Moss as Needed
You’re going to want to troubleshoot the bare spots as necessary. Rotate the entire ball around in your hands and determine where you need more moss or where more glue might be needed. Once you are satisfied with the coverage of your ball you can move on to the next one.
4. Dry Time
Set the moss balls in an untouched location for drying. Since you used mod podge, it will need to fully dry before you display them as decor.
That’s it! See how incredibly easy that was?
With a large bag of moss ($10 at Michaels and I used a 40% off coupon) I was able to make 8 of these Moss Balls and still have a TON of moss left over.
I tried to film myself when making these but after the first take my camera stopped working. So, there is a video. But not everything is completely in the frame. Also, this particular ball had too much glue. However, it might still help you with the compressing technique (don’t worry, it really is an easy step!)
I hope you enjoyed this vibrant afternoon project! The whole thing can be done in a half hour or so and very affordably. It’s a fun craft to bring a touch of nature into your home with these gorgeous moss balls.

DIY Moss Balls
Have some earthy fun creating your own decorative (and inexpensive) moss balls!
Materials
- Dried moss
- Rattan or foam balls
- Mod Podge
Tools
- Paintbrush
Instructions
- Brush the ball with a thin layer of Mod Podge.
- Then, take the moss and stretch it over the ball. You want to almost compress it on, like packing a snowball. Keep moving the ball round and round and compressing with your hands.
- Add more glue and more moss where necessary.
- Repeat until you're happy with the shape of your moss ball.
Notes
Moss is EXTREMELY messy! I recommend doing this outside if you possibly can. (Not on your kitchen table like I did.)
Nice decor. Definitely creative :-)
Nice decor. Interesting article. Definitely creative :-)
Your rattan chairs look good in your new dining room. Amazing how you homemade these moss balls with the balls you had just by buying glue and a bag of moss. This made me look forward to Easter and spring today.
Roll on spring :-) Have a great weekend, Sue!